If you’re preparing to switch systems, upgrade software, or clean up years of financial history, you may be facing one of the most crucial IT processes: data migration. For QuickBooks users, this often means replacing a company data file to fix performance issues, eliminate errors, or transition to a newer version of QuickBooks.
Whether you’re migrating full transaction histories or just lists and opening balances, following a clear migration plan can save you time, reduce errors, and ensure your accounting integrity remains intact.
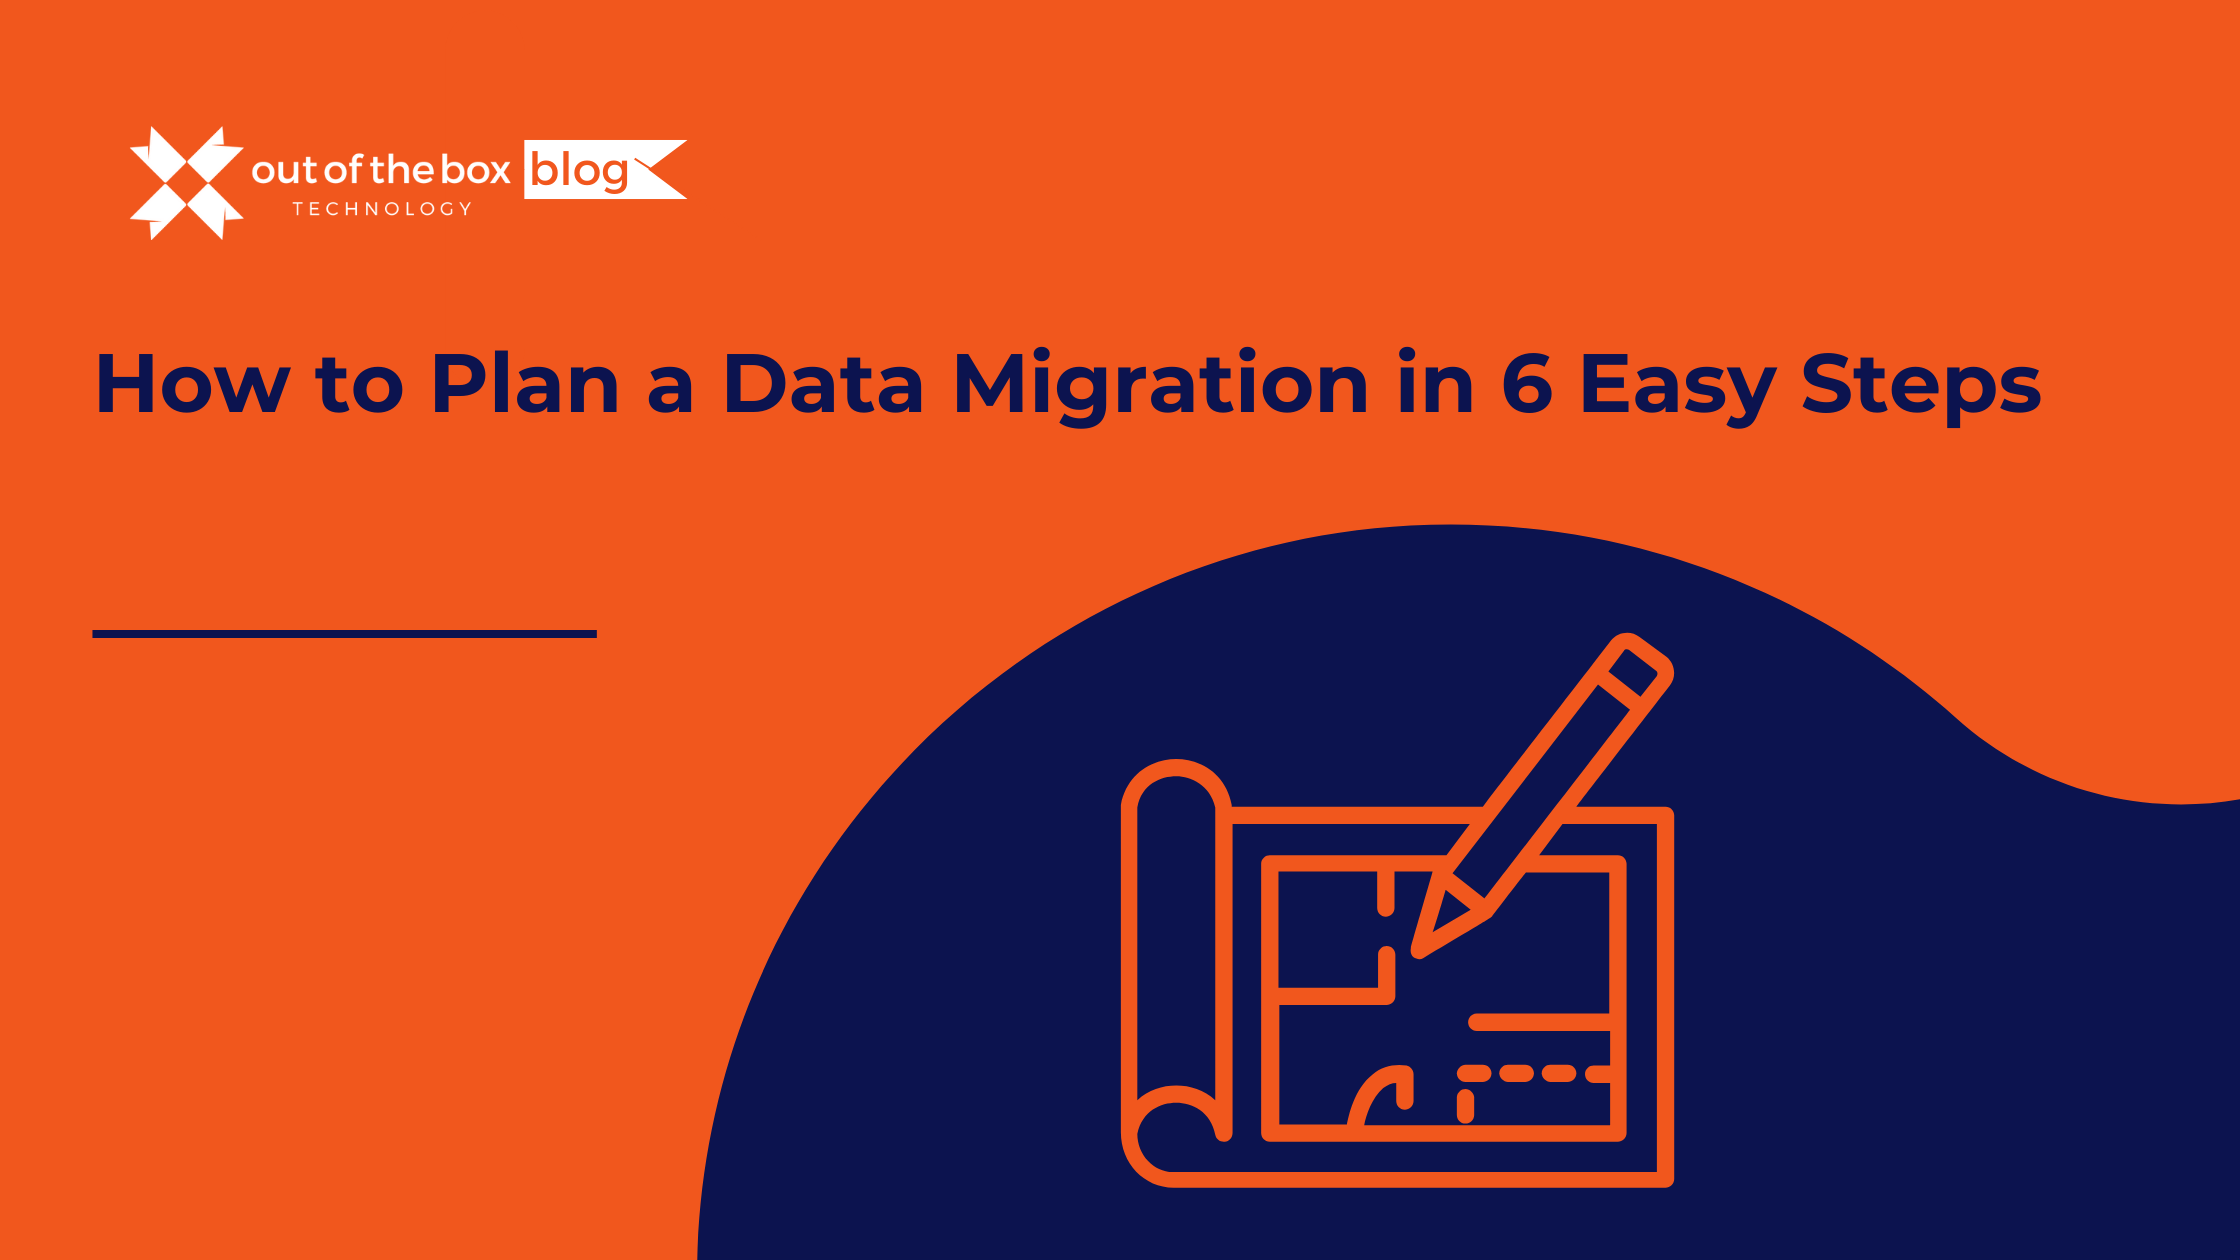
In this guide, we break down how to plan a data migration in six easy steps, tailored for QuickBooks but applicable across platforms. Let’s get started.
Step 1: Reorganize and Clean Up Lists
Before beginning your data migration, make sure your lists—like customers, vendors, chart of accounts, and items—are in order. Re-sorting lists ensures QuickBooks’ internal indexing is correct, which helps prevent import errors in the new file.
Action Items:
-
Use QuickBooks’ “Re-sort List” function for all major lists.
-
Merge duplicates (e.g., two customer records for the same company).
-
Inactivate obsolete items, accounts, or vendors.
According to TechRepublic, “dirty data” can cost companies up to $15 million annually in operational inefficiencies. (Source)
Step 2: Verify and Repair File Damage
Before migrating data, run QuickBooks’ Verify and Rebuild utilities to detect and fix file corruption. Data issues that go unresolved pre-migration can cause serious problems in the new file, including inaccurate reports and failed imports.
How to Run Verify:
-
Log in as Admin in single-user mode.
-
Go to File > Utilities > Verify Data.
If errors are found, proceed to File > Utilities > Rebuild Data. Always back up your file before performing a rebuild.
Tip: Run a second Verify after rebuilding to ensure all issues are resolved.
Step 3: Close or Reconcile Transactions
Next, ensure that only real-world open transactions remain in the file. You don’t want to migrate unpaid invoices or bills that have already been settled.
Reports to Review:
-
Open Invoices
-
Unpaid Bills Detail
-
A/R and A/P Aging Summaries
If you find duplicate or unlinked transactions, correct them using:
-
Receive Payments for invoices
-
Pay Bills for bill payments
A 2021 study by Forrester found that companies with clean financial data reduced monthly reconciliation time by up to 30%. (Source)
Step 4: Review Inventory for Errors
Inventory tracking in QuickBooks can be especially sensitive during a data migration. Negative inventory values are a common source of trouble, often causing inflated or erratic average costs.
Run the Inventory Valuation Detail Report:
-
Go to Reports > Inventory > Inventory Valuation Detail
-
Set the date range to “All”
-
Look for negative values in the “On Hand” column
Fixes May Include:
-
Adjusting transaction dates
-
Correcting quantities received or sold
-
Running a physical count and reconciling in QuickBooks
⚠️ According to Aberdeen Research, inventory inaccuracies lead to $1.1 trillion in losses globally each year. (Source)
Step 5: Reconcile Reports to Real-World Balances
You’ll want your new file to reflect accurate balances, not just structurally correct data.
Reports to Analyze:
-
Balance Sheet
-
Profit & Loss Statement
-
Sales Tax Payable
-
Uncategorized Expenses
If your books don’t align with your bank statements, credit card accounts, or sales tax filings, fix those issues now. Migrating flawed financials only compounds errors in your new system.
Step 6: Audit Your Workflow and Dependencies
Before finalizing your data migration, take stock of how your team uses QuickBooks. This includes custom fields, memorized transactions, and third-party apps like payroll services or inventory tools.
Key Questions:
-
Are non-posting transactions like Estimates or Sales Orders essential?
-
Do you sync QuickBooks with outside apps (e.g., Shopify, Gusto)?
-
What fields or reports are mission-critical?
Knowing what matters to your workflow ensures nothing essential is lost in the transition.
FAQs About Data Migration
What is data migration?
Data migration is the process of transferring data from one system to another—whether it’s a software upgrade, platform change, or a file cleanup. For QuickBooks users, this might mean migrating data between company files or to/from cloud versions like QuickBooks Online.
How long does a data migration take?
Simple migrations (lists only) may take a few hours. Full transaction history migrations can take several days depending on file size, data complexity, and testing. Working with a professional provider can cut this timeline in half.
What types of data can be migrated in QuickBooks?
You can migrate:
-
Chart of Accounts
-
Customer & Vendor Lists
-
Items & Inventory
-
Transactions (invoices, bills, payments)
-
Payroll data (with limitations)
Non-posting entries like Sales Orders often need manual handling.
Can I migrate from QuickBooks Desktop to QuickBooks Online?
Yes, but it requires a structured process. Not all data types migrate automatically, and some custom fields or third-party app integrations may need to be rebuilt post-migration. Always perform a backup before initiating.
Final Thoughts
A successful data migration hinges on preparation. By cleaning up your lists, verifying your file, closing out old transactions, checking inventory, reviewing financials, and auditing your workflow, you’ll set the stage for a seamless transition to a new QuickBooks file—or any other accounting platform.
Need help with your QuickBooks data migration? Let our experts guide the way. With 20+ years of experience, we make migrations smooth, accurate, and stress-free.